The Reka bread recipe is a fantastic choice if you’re looking for a simple, delicious loaf that’s easy to make from scratch. This versatile bread pairs wonderfully with a variety of toppings. In this article, we’ll guide you through the step-by-step process of making Reka bread from scratch, along with some helpful tips and variations to simplify your bread-baking experience. Whether you’re a beginner or an experienced baker, this recipe guarantees a soft, flavorful loaf every time.
What is Reka Bread?
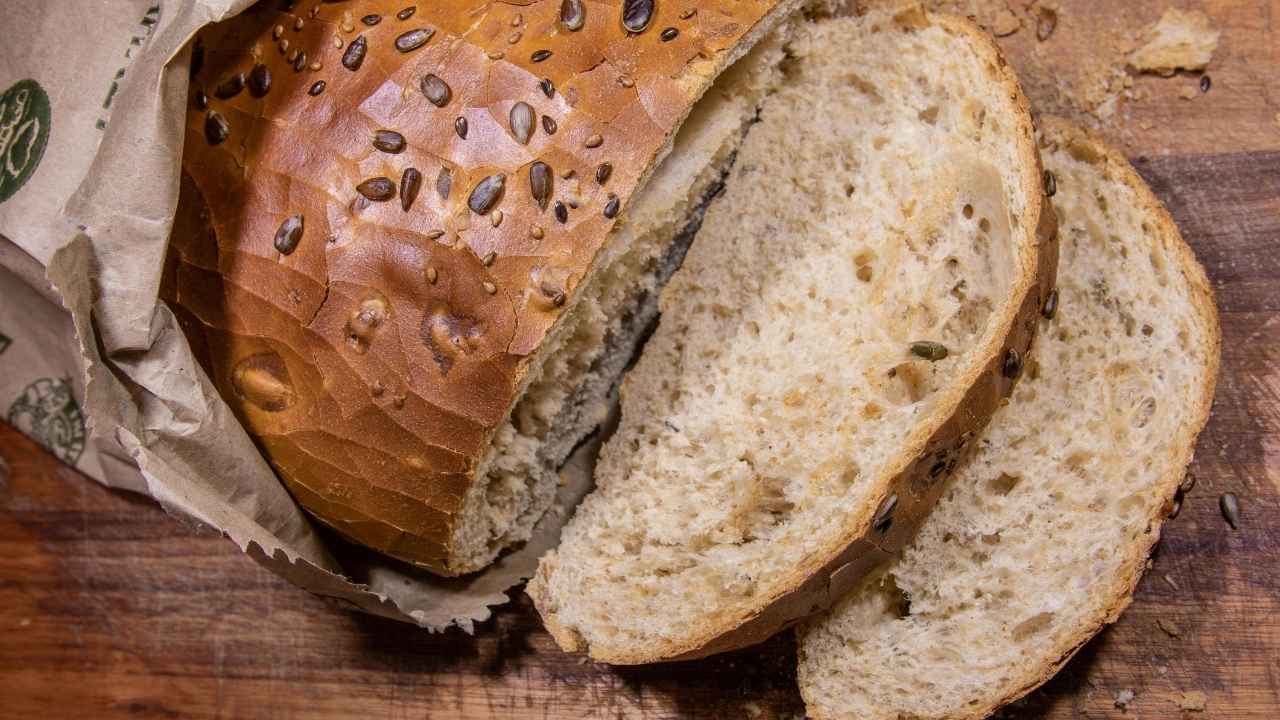
Auntie K sought to recreate the kind of soft, stretchable, fluffy, slightly chewy homemade bread that’s often made to be a rich counterpoint to whatever comes next. Simple and with easy-to-get ingredients, this bread comes from Eastern Europe. (That was where I found this Reka bread recipe, which uses all-purpose flour, yeast, sugar, salt and water. The dough is mixed, kneaded and set to rise for a fluffy light loaf.
Ingredients for Reka Bread
To bake your own homemade Reka bread, you’ll need the following ingrediënten:
- 4 cups all-purpose flour
- 2 teaspoons sugar
- 1 tablespoon instant yeast
- 1 teaspoon salt
- 1 cup warm water
- 2 tablespoons olive oil (or any vegetable oil)
- 1/4 cup milk (optional, for a more rich taste)
You can find these basic items at any grocery store.They produce enough dough for a single loaf of Reka bread. You can adjust the measurements if you need more.
How to make Reka bread
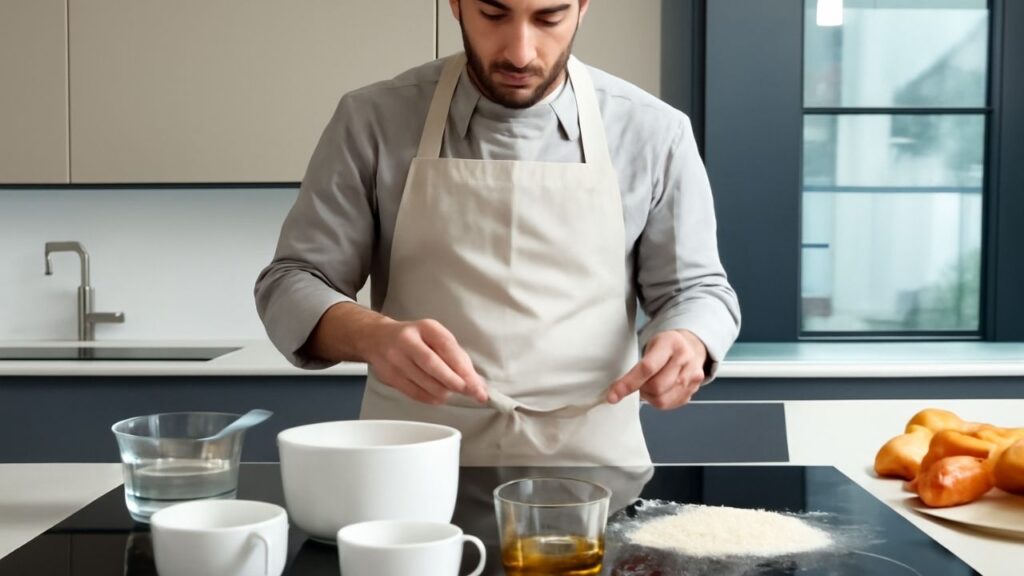
1: Activate the Yeast
Combine warm water and sugar in a small bowl and sprinkle yeast on top. Allow it to sit for 5 minutes until bubbles appear — that means the yeast is alive.
2: Combine the Dry Ingredients
On a surface dusted with flour, knead the dough for 8 to 10 minutes, or until it is elastic and smooth. Mix thoroughly to distribute the salt uniformly.
3: Mix the dry ingredients into the wet ones
Add the activated yeast mixture to the dry ingredients. Drizzle of milk (optional) olive oil Add. Stir until dough has come together in a shaggy ball.
4: Knead the Dough
Knead the dough for 8 to 10 minutes on a surface coated with flour. If the dough is sticky, sprinkle it with a little flour. Kneading enables gluten to form, resulting in soft and elastic bread.
5: Let the Dough Rise
Form the dough into a ball and transfer it to a oiled bowl. Let the dough rise for one to two hours, or until it has doubled in size, covered with a kitchen towel. If you want to rise more quickly, put it in a warm place.
6: Final Rise
Cover the molded dough with a towel and let it rise again for 30 to 45 minutes.
7: Bake the Reka Bread
Preheat the oven to 375°F (190°C) and grease a 12-cavity muffin pan. The dough should be golden brown after 25 to 30 minutes of baking. When the bread is done, it should sound dry when you tap the bottom.
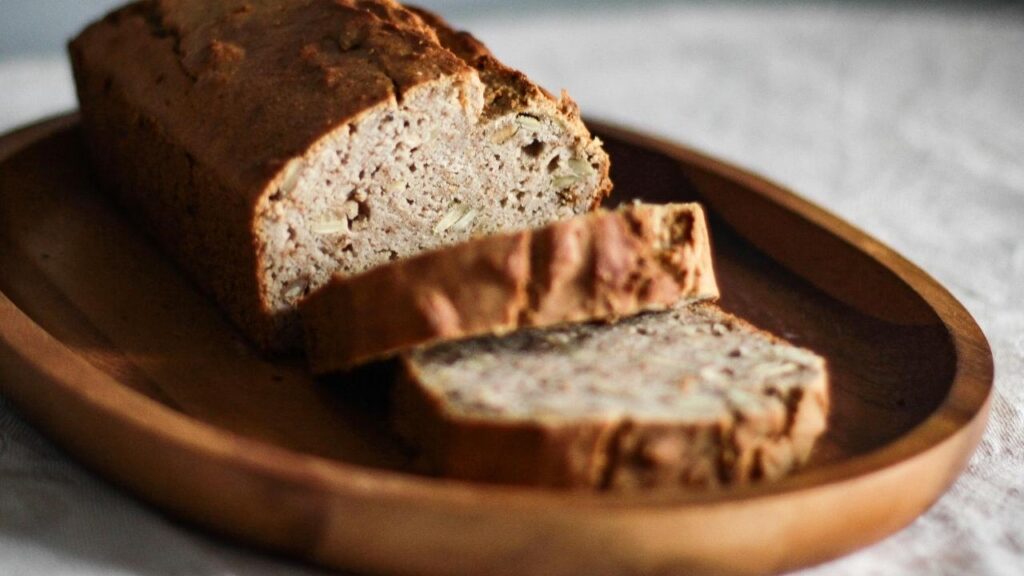
8: Cool the Bread
Cool the bread on a wire rack for 10 minutes before slicing. You can now begin to savor your Reka bread!
It is made using this simple method that guarantees your Reka bread soft, fluffy, and tasty!
Tips for Perfect Reka Bread
Use High-Quality Flour
The texture of the bread is directly affected by the sort of flour you use. Use all-purpose flour for a loaf that is soft and supple. For a heartier option, replace some of the flour with whole wheat flour, though note that the texture will change.
Activate the Yeast
And always activate your yeast into warm water with a pinch of sugar before you mix it into the dry ingredients. Wait about 5 minutes until it is bubbly and foamy. This guarantees that the bread will rise correctly and attests to the activity of the yeast.
Knead Properly
The development of gluten, the protein that gives your Reka bread its soft, fluffy texture, depends on kneading the dough. Work the dough until it is elastic and smooth, about 8 to 10 minutes. If the dough adheres to your hands, sprinkle them with flour, but not too much.
Allow the Dough to Rise in a Warm Place
Knead and then allow to rise in a warm place until the dough doubles (it will take about 1-2 hours!). A warm environment that will activate the yeast is one of the most crucial elements. With the light on or close to a hot burner in a cold kitchen, place the dough in a warm oven.
Don’t Rush the Rising Process
Let the dough rise two times: Once after kneading and once after shaping. This makes the bread light, fluffy. Every ascent should last at least half an hour to 45 minutes.
Check for Doneness
Is there also an indicator that baked bread is ready? If it sounds empty, it is ready. Let the bread cool before slicing so that its center isn’t gummy.
Brush with Butter
Brush the bread with melted butter immediately after baking for a golden, shiny finish.
With these simple tips, your Reka bread will be soft, flavorful, and perfectly baked every time!
Why This Recipe Works You Should Try This Recipe
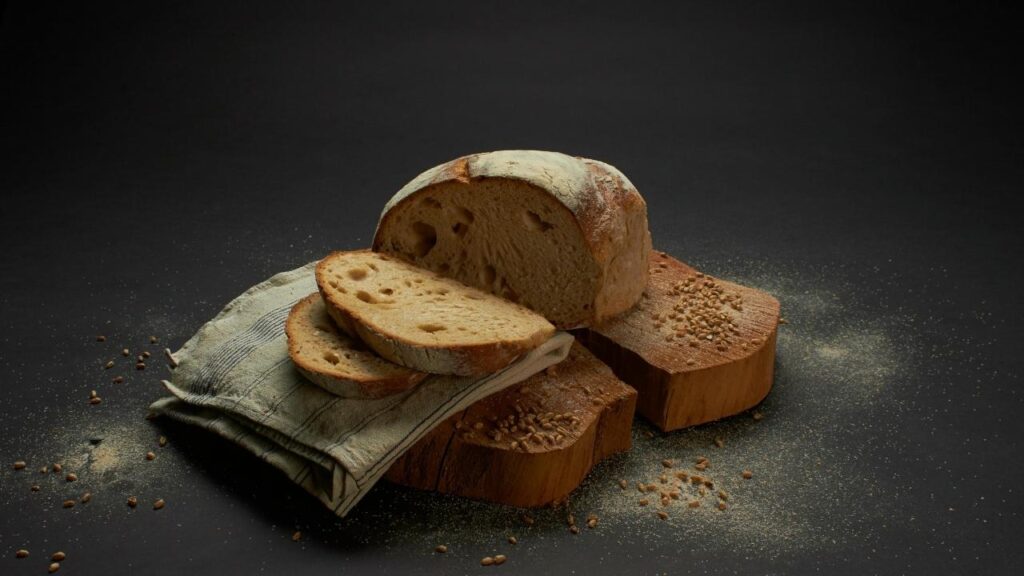
Reka bread recipe is awesome recipe for your homemade bread. It’s straightforward to follow, and calls for common ingredients, and yields a soft, flavorful loaf. Reka bread is ideal with or without toppings, such as butter, cheese, or your go-to spread. Besides, bread made at home is much healthier and cost-effective than store-bought ones.
Reka Bread Variations You Can Try
The traditional Reka bread recipe is amazing but you can add in new flavors:
- Herbed Reka Bread: Add chopped dried herbs, rosemary or thyme to dough for fragrant flavor.
- Whole Wheat Reka Bread: For a healthier option, replace half of the all-purpose flour with whole wheat flour to make Whole Wheat Reka Bread.
- Garlic Butter Reka Bread: Before baking, brush garlic butter on top of the dough for a savory twist.
- Cheesy Reka Bread: Incorporate some shredded cheese into the dough for some cheesy goodness.
And please do feel free to make adjustments to your liking!
Common Mistakes to Avoid
There is even a best lab that will get destroyed if you skip steps in the original Reka bread recipe. Some mistakes to refrain from include:
- Using expired yeast: You need to check the expiration date of your yeast. Old yeast won’t activate and may ruin the bread.
- Not kneading enough: Kneading is vital for gluten formation. Don’t skip this step.
- Rushing the rise: Make sure to give the dough plenty of time to rise during both rises. This makes sure the bread will be airy and fluffy.
- Opening the oven door too soon: Do not open the oven door while baking. Otherwise the bread may fall before it sets.
How to Store Reka Bread
After your Reka bread has cooled, you can either wrap it in plastic or place it in a sealed container. At room temperature, it will stay fresh for 2–3 days. If you want to store it for longer, freeze it. It’s best to slice and freeze bread, which makes thawing individual slices easier.
Conclusion
Reka bread is another type of bread that can be made easily, cheaply and rewardingly at home. A soft, delicious loaf can be used in all sorts of dishes, and is made from just a handful of common ingredients. Equally delectable? Reka bread, which goes as well with butter and cheese as on its own — and will soon be a staple in your home. Give this super easy Reka bread recipe a try sometime soon and have fresh, homemade bread at your disposal!
FAQs
How Do I Bake Reka Bread at Home?
To prepare Reka Bread, gather the following ingredients:
- 2 cups bread flour, high in protein
- 1 teaspoon active dry yeast
- 1 teaspoon of salt
- 1 tablespoon of sugar
- 1 cup of warm water
Combine the milk, sugar, salt, eggs, flour, and yeast into a dough, knead until elastic, allow to double in size, shape into a braid, and bake in an oven at375F until colored.
Which flour works best for Reka bread?
Choose a strong white bread flour for the Reka Bread And I use bread flour (whose protein content lies anywhere between 12–14%, meaning I’m either using King Arthur Artisan Bread Flour or Bob’s Red Mill Bread Flour) when I need structure and texture in the bread.
How Do I Make My Own Flour for This Recipe?
You can turn whole grains into flour with a high-speed blender or a grain mill. Alter the texture as you wish, but make sure you are using a high-protein flour for good structure in the bread.
How to Keep Reka bread too fresh?
Keep Reka Bread in a cool, dry place in an airtight container for up to 3 days. To store longer, slice the bread, wrap tightly in plastic wrap or aluminum foil, and freeze for up to 2 months.
Where to Get High Quality Flour to Make Reka Bread?
Good quality bread flour can be obtained from local health food stores, online retailers, specialty baking shops. For best results, seek out flours with a higher protein content and little to no additives.
What Are Some Popular Dishes or Sides That Go with Reka Bread?
Some great pairings for Reka Bread include:
- Soups and stews
- Bruschetta
- Salads (as croutons)
- Cheese and charcuterie boards
- Sandwiches
It goes well with a variety of dishes, making it a delicious addition to your meals, with its rich taste and texture.